Followers

Showing posts with label Winter Snow Embossing Folder. Show all posts

Sunday, 11 October 2020

Festive Sunday Inspiration Week 9 - Owl Trio

Hi crafters,

Today is the next installment in my Festive Sunday Inspiration series.  There is still time to catch up though, take a look back at the first post.  I will be bringing you a post every Sunday until 29 November featuring festive projects to spark your creativity.  Projects will feature Stampin' Up! products from the August-December 2020 Mini Catalogue and the Annual Catalogue, using a variety of techniques.  If you would like to purchase any of the products for yourself, please visit my online shop which is open 24/7. 

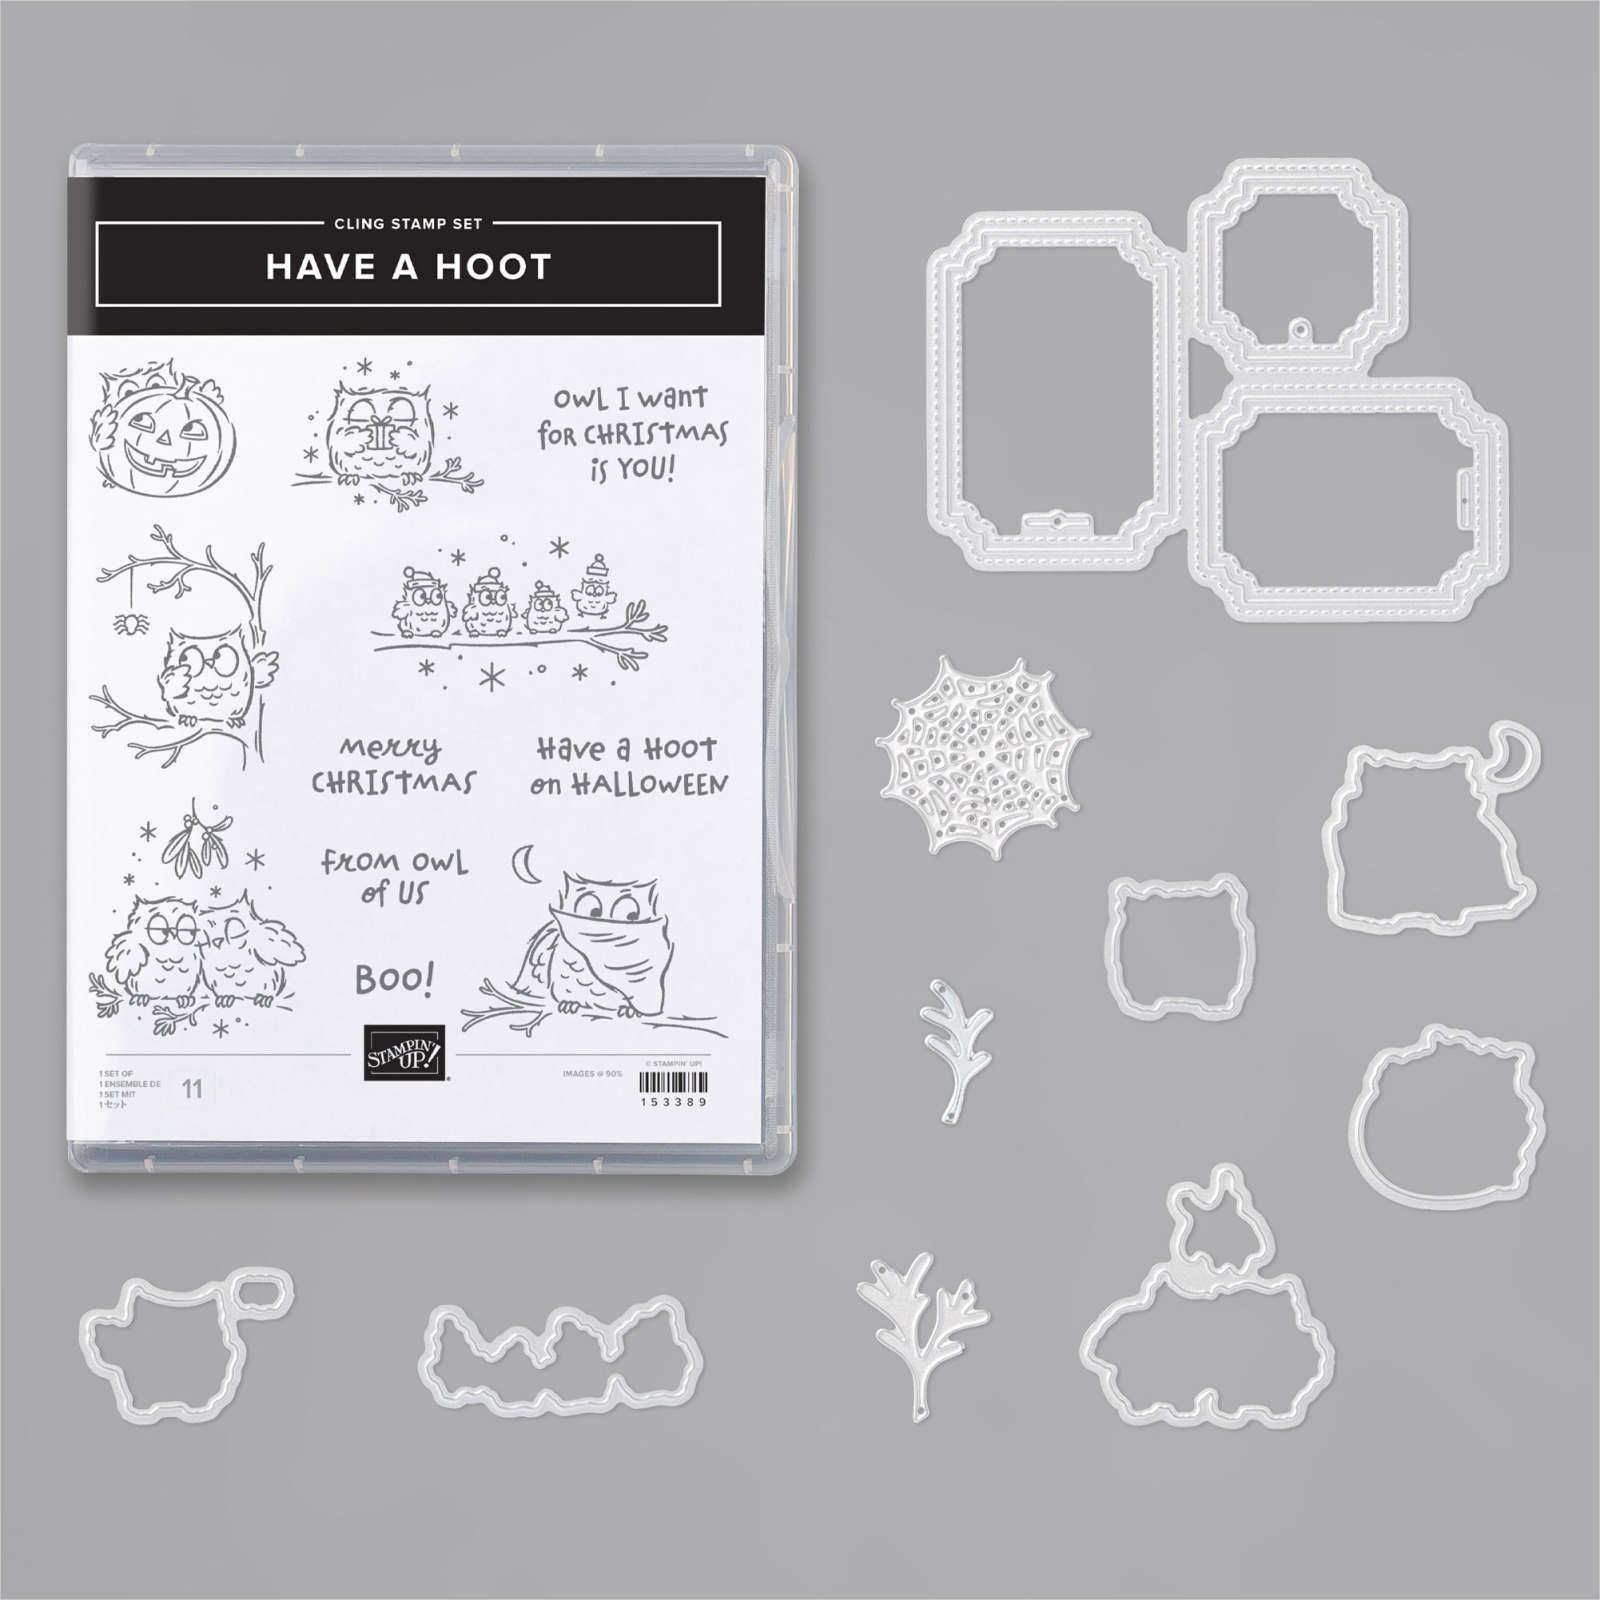
I'm revisiting the Have a Hoot bundle today because it's so much fun and I love that you can make simple or complex projects.  


I created a card base from Thick Whisper White cardstock.  I embossed a piece of Whisper White cardstock with the Winter Snow Embossing Folder which was inked on one side with Just Jade ink.  I then ran the Pretty Peacock inkpad over the raised areas.  This piece was adhered with Multipurpose Liquid Glue to the centre of the card base.  I used the same Winter Snow Embossing Folder with a panel of Crumb Cake cardstock and then added Craft ink (white) to the raised areas.  After cutting the tag die from the centre of this panel, I matted onto a piece of Just Jade cardstock.  The owls were stamped in Crumb Cake ink and then I used a Just Jade Stampin' Write Marker to highlight small areas on each image.  Finally I stamped the sentiment from the Poinsettia Petals stamp set in Crumb Cake and trimmed this down with my guillotine.  I popped the main panel and sentiment strip up with Stampin' Dimensionals    

Now that we are halfway through the Festive Sunday Inspiration, have you started on your makes for Christmas yet?  I'd love to know what you're creating this year.  

Happy crafting, 

Rachel x


Product List 

Sunday, 23 August 2020

Festive Sunday Inspiration 2 - Gnome For The Holiday from Stampin' Up!

 Hi friends,

Today is the second installment in my Festive Sunday Inspiration series.  There is still time to catch the first post in the series though.  I will be bringing you a post every Sunday until 29 November featuring festive projects to spark your creativity.  Projects will feature Stampin' Up! products and a variety of techniques.  If you would like to purchase any of the products for yourself, please visit my online shop which is open 24/7.  


I have chosen my favourite stamp set in the entire August to December 2020 Mini Catalogue for today's card.  These gnomes in the Gnome for the Holidays stamp set are just too cute!


My card appears fairly simple but it actually has three techniques.  I stared by making a card blank from Crumb Cake cardstock.  I cut a panel slightly smaller than the front of my card and then placed this inside the Stamparatus.  I took the Christmas Wishes stamp from the Banner Year stamp set and repeatedly stamped this in Crumb Cake ink using the removable plate of the Stamparatus for easy positioning.  I adhered the panel flat onto my card blank using Multipurpose Liquid Glue.  The snowflake strip was created using the Winter Snow Embossing Folder.  I inked up the folder with Just Jade ink and ran a piece of Whisper White cardstock through my die cutting and embossing machine.  This transferred the ink to the background of the cardstock, leaving the snowflakes white.  I removed the piece of cardstock from the folder and then swiped ink in Pretty Peacock across the raised embossed snowflakes.  I love this technique for a striking background or patterned accent on a card.  I stamped the gnome image from the Gnome for the Holidays stamp set in Memento Tuxedo Black ink and then coloured with Stampin' Blends in Real Red, Cherry Cobbler, Smoky Slate, Ivory and Crumb Cake.  I fussy cut out the image with Paper Snips and then mounted onto a die cut oval from the Layering Ovals Dies, adding a frame with a larger oval die from the same set in Real Red cardstock.  I finished off with some Just Jade In Color 2020-2022 Enamel Dots.  

I hope you liked this gnome take on a festive card with multiple techniques.  What's your favourite crafting technique?  Let me know in the comments below.


Happy crafting,

Rachel x


Product List

Sunday, 16 August 2020

Festive Sunday Inspiration 1 - Poinsettia Place from Stampin' Up!

Hi crafters,

I have an exciting creative series starting today which will deliver a post every Sunday until 29 November, giving you 16 weeks of creative inspiration for your festive makes.  Each project will be made with Stampin' Up! products from the August-December 2020 Mini Catalogue and the Annual Catalogue.  I hope this will bring some festive fun and lift your spirits in time for the holiday season.  If you would like to purchase any of the products I use, please visit my online shop which is open 24/7.  I can ship to customers in the UK, France, Germany, Austria and the Netherlands.

I'm starting the series with a duo of cards created using the Poinsettia Place bundle.  The second card features the waste from the die cutting of the first card.  This wasn't planned and I was so surprised it actually worked!


My first card was created using Thick Whisper White cardstock for the base and then I embossed a panel of Whisper White cardstock with the So Many Snowflakes Embossing Folder.  I love this folder as it can be paired with so many designs for Christmas.  I die cut the poinsettia in Real Red cardstock, leaves in Mossy Meadow and the sentiment and sprig in Whisper White cardstock.  I inked using a sponge dauber in the matching colours onto the poinsettia and the leaves for added depth.  I also debossed the centres of the petals and leaves with the co-ordinating die from the Poinsettia Dies.  I added three Champagne Rhinestone Basic Jewels to the centre of the flower.  I layered Stampin' Dimensionals behind each of the petals to raise them for a more life-life look.  Finally I die cut the Peace sentiment from the Joy Dies in Whisper White cardstock attached to a piece of Foam Adhesive Sheet.  


My second card is more subtle and started with a card blank made from Crumb Cake cardstock.  Using my Stamparatus, I lined up the waste from the die cut poinsettias above and placed a piece of Whisper White cardstock behind so that I could stamp the flowers from the Poinsettia Petals stamp set in Crumb Cake ink perfectly positioned inside the apertures.  I placed some gold Metallic Pearls to the centres for an added festive touch.  I actually lined up the Peace sentiment from the Joy dies in the gap on the left, which means I have an extra die cut sentiment for another project.  I placed the centres of the letters back in place using Multipurpose Liquid Glue.  

I hope this post has given you some festive inspiration.  Christmas is sooner than we think!  Please don't forget to check back next Sunday for the second installment of the Festive Sunday Inspiration series.  

Happy crafting, 

Rachel x


Product List